Documentation › Everyday guides
Add users and change sessions
Creating separate accounts, administrator rights, logout, automatic login and session limits
Create another account
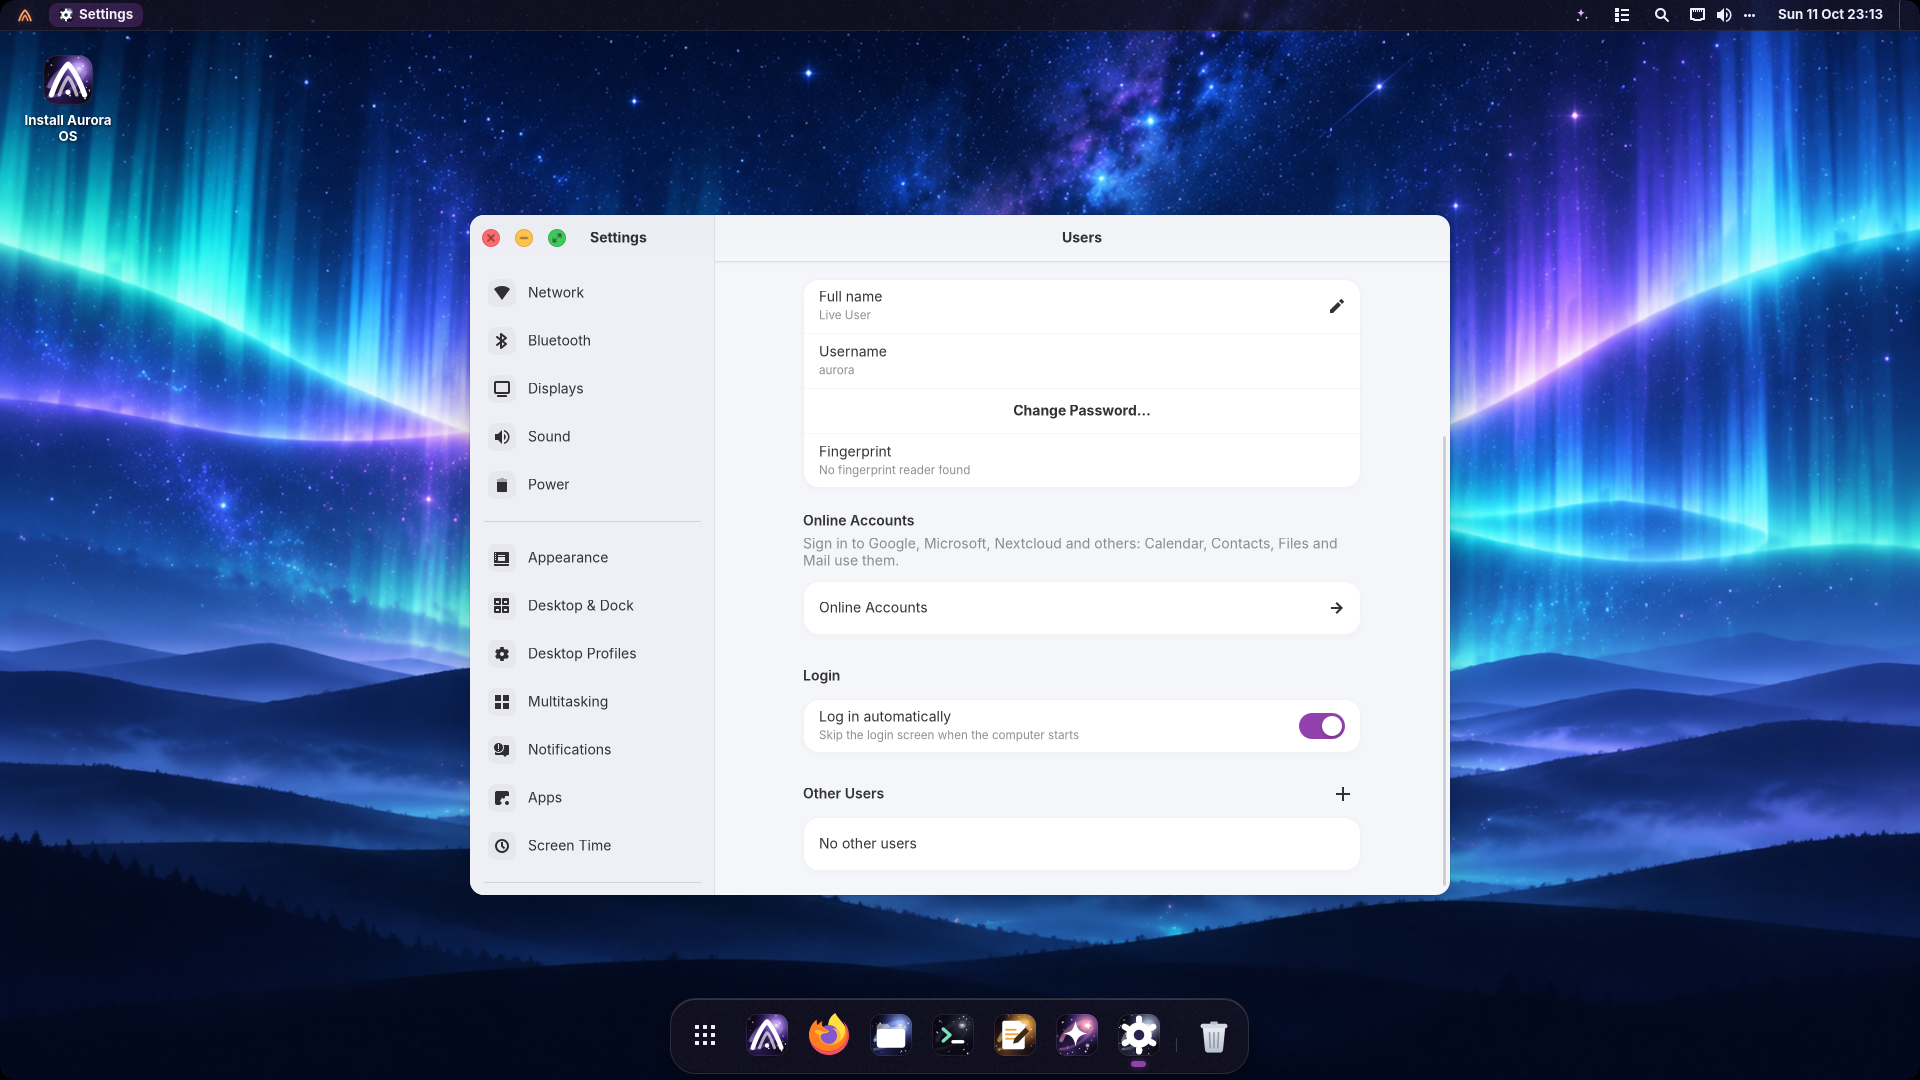
- Open Settings → Users. Scroll down to Other Users.
- Click the + button beside Other Users.
- Enter a full name, username and password. The suggested username can be edited; it stays unchanged when you subsequently edit the full name.
- Choose whether the new account is an administrator. Use a standard account for ordinary work; administrators can authorize system changes.
- Click Add and complete the administrator authorization. The page becomes available again when the operation finishes or is cancelled.
Show account and login controls
Log in as another user
- Save your work, then use the Aurora menu → Log Out.
- At the login screen, select the other account and enter its password.
- If a session selector is available, choose Aurora or Aurora Compatibility, then log in.
Accounts have separate files, preferences, clipboards and activity journals. Aurora currently provides this logout-and-login flow rather than a graphical fast-user-switching control. Two simultaneous graphical desktops for the same account are unsupported; use distinct accounts for concurrent graphical desktops.
Automatic login and removing accounts
Log in automatically skips the login screen at boot for the chosen account. Turn it off if you want to choose a user each time. See Login screen for the keyring behavior.
Removing an account deletes its home folder. Back up its files first and log it out before removing it; the active account cannot be removed. See Security and privacy for account protection and administrator prompts.